Restoring a Reed Organ -- Part 7: Investigating the Action
 When last we left off (last summer!) we had taken the action out of the case. In truth, we got a bit further than this last summer, but I did not get around to posting our further progress. In July, I had order Jim Tyler's "Aunt Maude Revisted" CD which details how to restore a reed organ, with literally hundreds of photos and directions. This did not arrive until the end of the summer, so we opted not to begin any restoration work until we had thoroughly reviewed it, which we have now done. We spent the rest of the summer investigating how the action works, taking it apart and carefully photographing everything we did for reference. We then completely dismantled the case and stripped it. I realize some purists will be having a fit as they read this thinking about the antique patina that we removed, but the original shellac was seriously damaged in many places, and flaking very badly. There was also some water damage. We felt stripping and re-shellacing would be our only real option. We also stripped down the bellows and exhausters, removing the old rubberized cloth and cleaning up the boards. More on these items in future posts. I thought I had better do a couple of "catch-up" posts to bring us up to date on our progress through the end of last summer before we begin our work this summer.
What is wrong with the photographer? He can't seem to take a picture without a shadow obscuring half the frame?
 Looking down, we can see the couplers that sit on top of the reed cells, and the pitmans which release the valves below the reeds. Also note the sub-bass cells in the back, bass side. What is that strip of tape doing there? It seems I accidentally grabbed the sub-bass covering when we were taking the action out and I cracked the cell. You should have seen Dad's face. We later repaired it. That is my "tape of shame" that you see.
When I played the keyboard, I noted that some of the couplers seemed to engage without the "octave coupler" stop being pulled, while others failed to engage with the stop pulled. The couplers were quite dusty, with lots of debris, although the felt is largely intact. It will need to be replaced and the couplers cleaned thoroughly.

Here's a view of the action from the treble side. You can see the Vox Humana in the lower right corner of the frame.

This is a closer view of the pitmans, and the sub bass couplers (is that what they are called?) There is that darned "tape of shame," again.

Oh look, here is our missing "melodia" stop face. Hmm, that's one reason why the couplers weren't working so well! A good rule of thumb is always to do a good search of the debris before getting the vacuum cleaner going!
 I guess since I made that little gaff with the sub-bass, Dad thought he should continue with the "hands on" work for a while. Here he is removing the screws from the wind chest to separate the top reed pan from the bottom. There were several screws, in two different sizes. We carefully noted which screws went where.
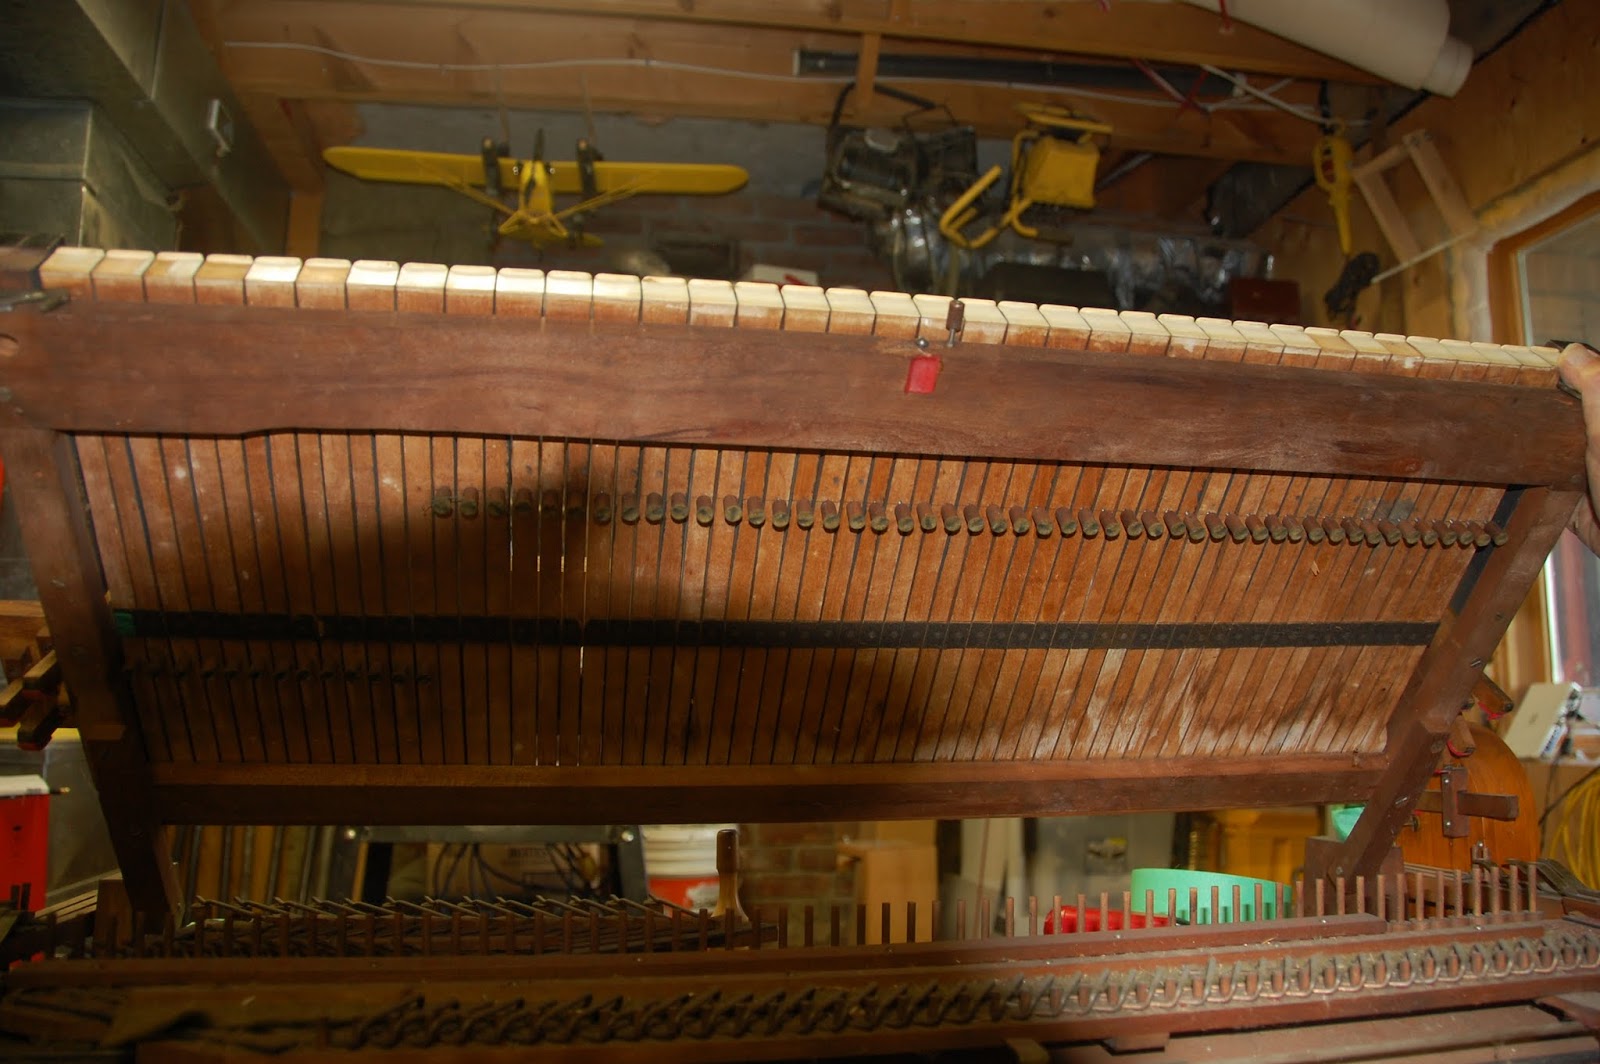
We have removed the keyboard at this point and set it aside.
Here's Dad doing some more screwing... You know what I mean!

Here is another nice vew from the treble side. You can see the linkages in the bottom of the picture, as well as a decent view of the rear swell. The top reed pan is pretty dirty and you can see some discoloration (the dark stains) caused by water, I think.

A closer look at the sub bass reeds and cells... Again with the taped gaff! Why didn't the photographer cut that out?
And one more fuller view of the couplers, swell shade, and sub base, below.
More to come next time!


Comments